Available as a 1000x1500 JPEG
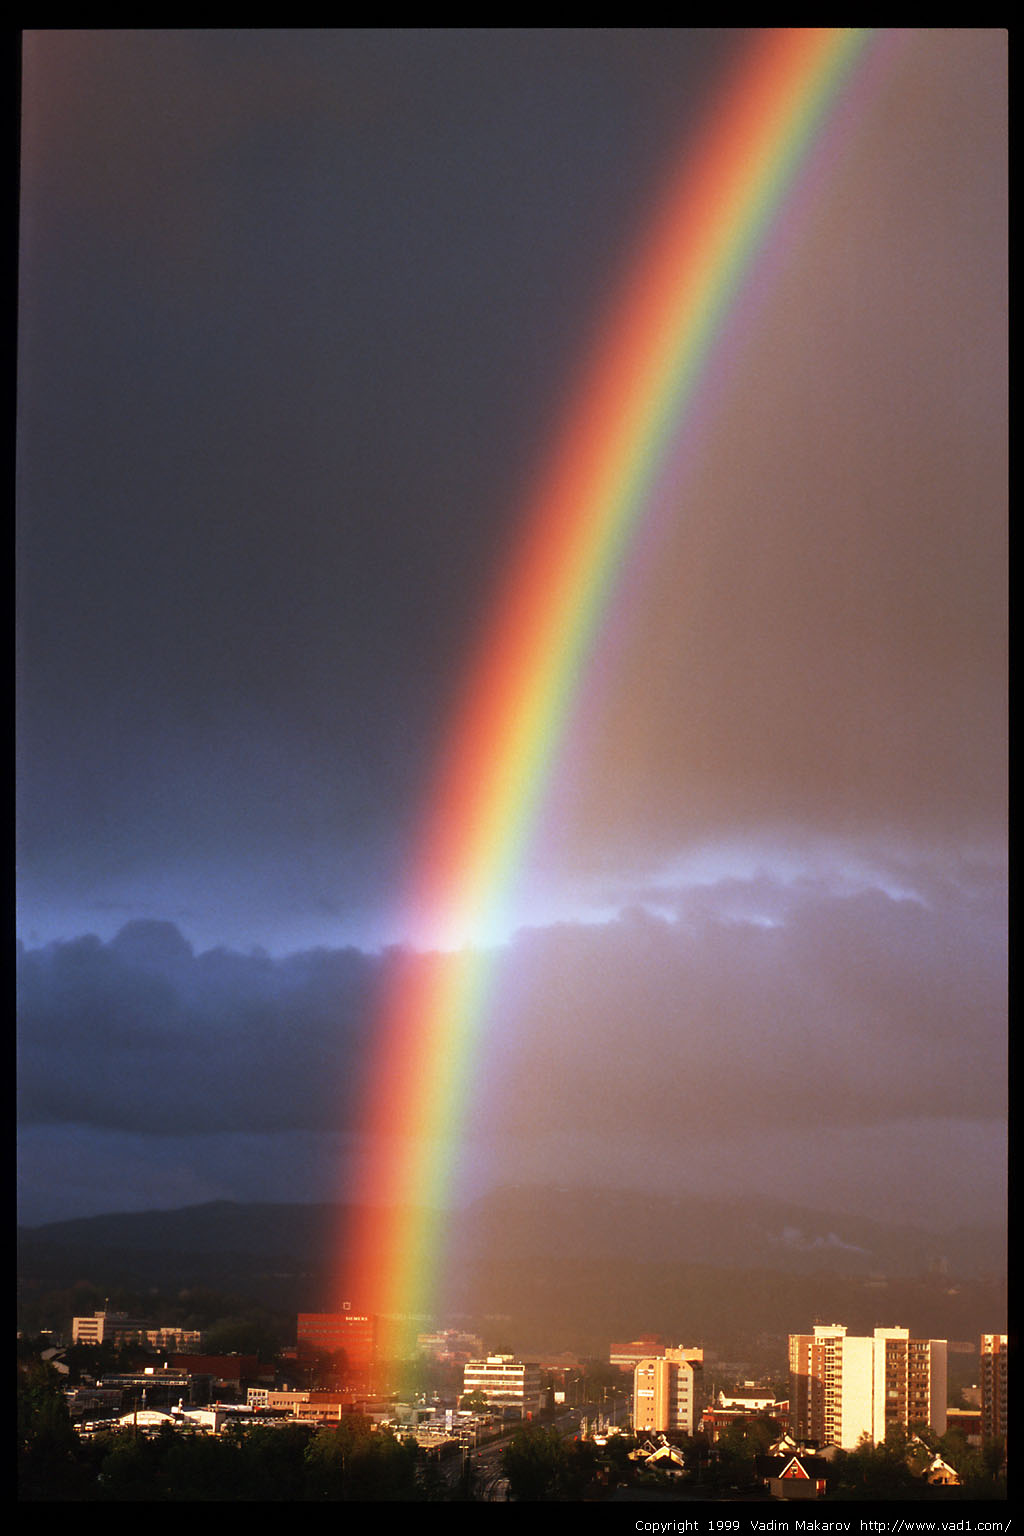
Rainbow in Trondheim
Rainbow in Trondheim
Taken from the roof of Elektro building, view of Tempe (near) and Sorgenfri (farther), Heimdal and Vassfjellet on background.
This picture is printed as an illustration in the AVA Guide to Outdoor Photography by Cathy Joseph. Here is the image description I've submitted for the book:
Trondheim is situated on Eastern coast of Atlantics, on the Scandinavian peninsula. On many summer days, short packets of rain clouds come from the ocean, interleaved by equally short breaks of sunny weather, racing one behind another over the city. Also, Trondheim lies at a high latitude where the sun rises and sets very slowly, spending a lot of time low above the horizon. Those two facts together make for good opportunities to photograph rainbows of the type you see on the image.I was sitting at work circa 5
o'clock in the morning when a really strong and long-lasting rainbow arc appeared in the window. After a brief look out the window, I grabbed a backpack with the camera gear (which I always carry with me) and run to the roof of the university building, which overlooks the valley of Trondheim and distant hills on the background.Screw on a polarizing filter if you have it (rainbows and non-colored scattering inside the arc are fully polarized — a polarizer can brighten them relative to other parts of the image), set up the tripod, frame the image, meter off the sky (you don't want the sky to be too bright on rainbow shots... I took a spot meter reading off the bright part of the sky outside the rainbow), set
±0.5 stops bracketing (with slide film bracketing such shots is advisable), shot three bracketed frames immediately (that will be all you have if the rainbow weakens and disappears, so don't wait). Then wait and see — if it changes and gets any better, shot more. Try different framing if time allows. Wait ready until the conditions for the rainbow are over. Don't save film — you will pick the best frame later when you get it developed.Strong rainbows don't last long, usually less than a minute. You ideally want to be set up and ready before the rainbow reaches its peak. If you see a budding rainbow photo opportunity — don't waste time looking at it, but rather set up your camera quickly, frame, focus and set suitable exposure.
The sky on this image is so dark because the sun doesn't lit it. Sun rays pass through the falling raindrops and get scattered back at ca. 42° angle (for primary arc, the brightest one), forming a visible rainbow arc. On this image they also lit the buildings on the foreground, but the background and the sky behind it are shadowed by clouds and not directly lit by the sun rays, thus making the rainbow and foreground stand out. The rainbow is almost vertical near the ground because the sun is low on the sky, and you can see almost full half-circle in the sky at this sun lighting angle.
By the end of the shoot that produced this image, rain poured over my camera and lens on the tripod, finally soaking it completely. It was a cheap camera body not protected against rain. I went indoors and tried to blow the water out the button and dial holes with compressed air. Instead it drove water inside the camera and lens. The body started shooting frames continuously on its own until I removed the battery (the body later dried and worked fine), and optics inside lens was splashed, leaving visible stains after drying.
Since I published the image on my Web site, it has been licensed for publication multiple times, bringing more than the cost of the camera and lens it was taken with (I still have this camera and lens, even though I since bought a more splash-resistant camera body).My best advice for photographing rainbows is to always carry your equipment with you and use it.
Details:
The slide was scanned on
- f/8, 1/20 sec, tripod
- Lens: EF 75-300 1:4-5.6 II zoom lens near its short end
- Filters: polarizing filter, rotated to maximize brightness of rainbow
- Body: Canon
EOS-500N - Film: Fujichrome Sensia ISO 100
- Photo taken in May 1999 early morning
Nikon LS-30 film scanner. The scan was then carefully tonal- and color-corrected in Photoshop for the best appearance, just as I do with all my other images (some people asked if I painted the rainbow in Photoshop — no, it was really a strong one, and the adjustments applied to the image as a whole is a standard procedure after scanning, done in order to make the digital image actually resemble the look of the original slide).
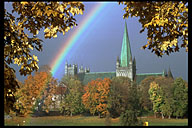 another rainbow image.
This picture from Lights of Trondheim gallery illustrates Sky as a part of photograph guide and is included in Picture Collection (ref. nr. n89-36) on Photo Pages
Taken in May 1999 (early in the morning).
Fujichrome Sensia II 100 film,
Canon EOS 500N,
EF 75-300 1:4-5.6 II lens,
polarizer (brightens rainbow and non-colored scattering to the right of it)
f/8 1/20,
partial metering:
sky -1 to 0, rainbow up to +0.5(average), contrast increased in Photoshop;
tripod.
Scanned on Nikon LS30 scanner.
How you can use this image. ©1999 Vadim Makarov